Theoretical Paper
- Computer Organization
- Data Structure
- Digital Electronics
- Object Oriented Programming
- Discrete Mathematics
- Graph Theory
- Operating Systems
- Software Engineering
- Computer Graphics
- Database Management System
- Operation Research
- Computer Networking
- Image Processing
- Internet Technologies
- Micro Processor
- E-Commerce & ERP
Practical Paper
Industrial Training

Making the App Interactive
In this chapter, we will introduce some new things and UI features that iOS provides for interaction with the user. We will be adding −
- Text Fields
- Labels
- Buttons and their actions
Additionally, we will be writing the code in swift for a Dynamic Label, which will show the calculated result of the input entered by the user.
By the title “Making our app interactive”, we mean making our application interact with the user. Therefore, here we give user the power to interact and control the application.
Adding Text Fields
Here, we will again make a new project. It should be easily manageable, as we have already discussed how to create a new project in Xcode.
Okay, so we will now create a New Project Called “My Dog’s Age.” After creating this project, we will click on our “Main.storyboard” File and follow the steps given below.
- In the utility Pane’s Search bar (located in the bottom right corner of Xcode), search for Label. Click and Drag that Label to your main.storyboard / (View). Then, double click on the label and rename it as − “My Dog’s Age”.
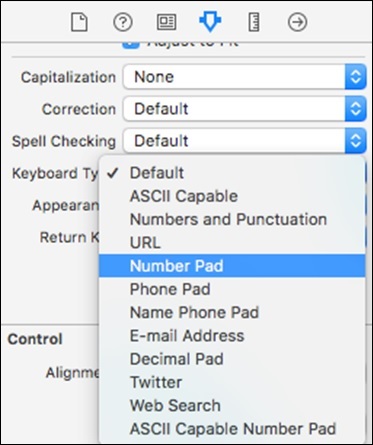
- Search for “text field”, click and drag that text field to your View. While this text field is selected, go to attribute inspector and change the keyboard type to Number pad, so that only number can be entered as shown in the screenshot below.
Adding Buttons to our View
Now search for a Button in the search bar. Drag that to your view, double click on it and rename as “Calculate”.
Adding Label to View
Search for label and add it below the button, to show the age output. Double click and make the label empty and stretch it a little bit, so that the complete output is visible.
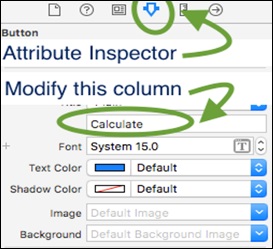
Tip − If you are not able to rename by double clicking, then select the item and in the utility pane − Attribute inspector, there is the title of that item, modify there and press Return as shown in the following screenshot.
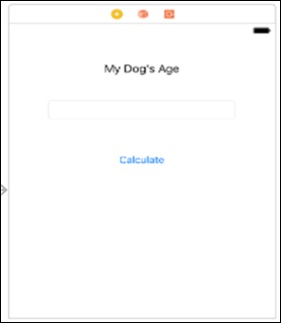
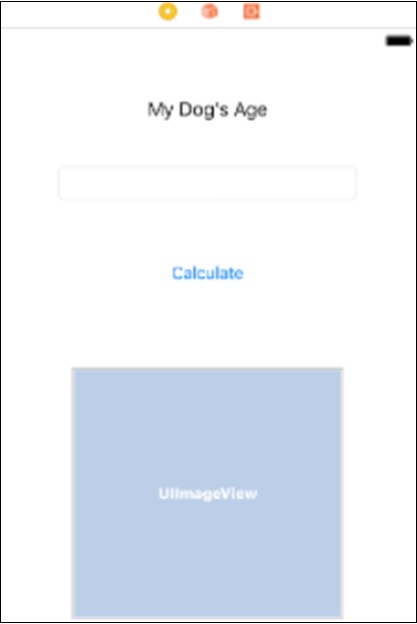
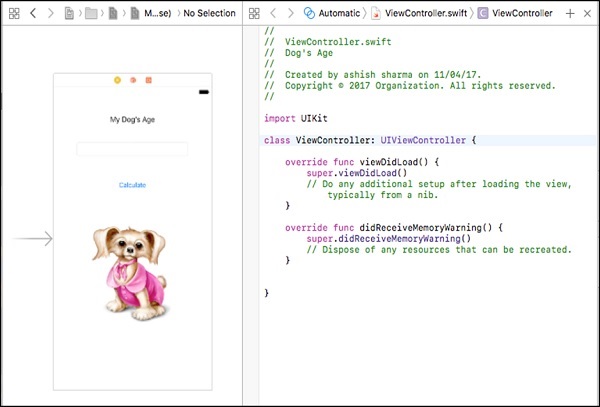
Now, your Main.storyboard should look like the following screenshot.
We do not stop here, now we will be discussing how to add images to the main.storyboard.
Adding Images to Our View
To begin with, we should first search for an image, which we want to add in the project. You can download the image given below −

Copy this image into your project, or drag this image to your project, then you will see the following window.
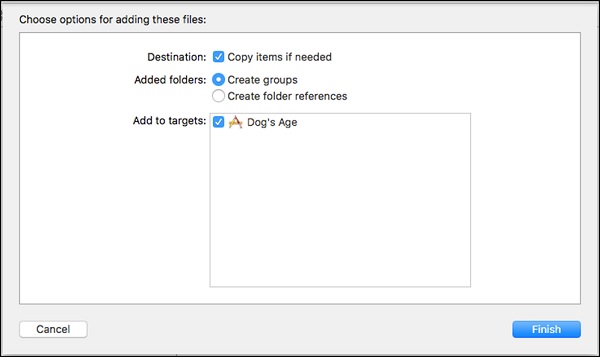
Make sure you select, copy items if needed and create groups. Click on the Finish button.
Now, go to Utility Pane → Object Library and search for Image views. Drag the image view to your view. Now your view should look like the screenshot given below.
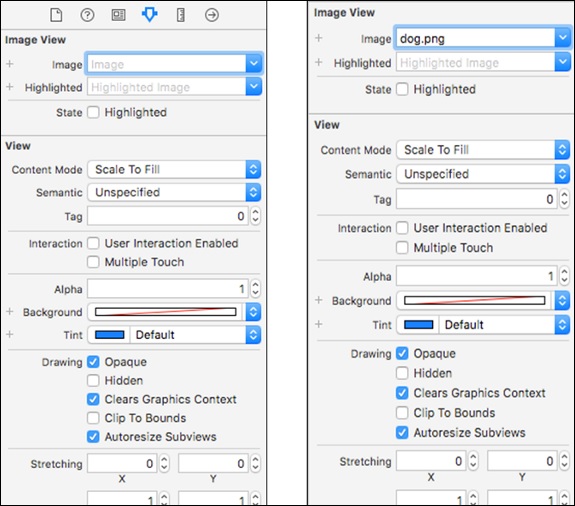
Now, click on this Image View, you just dragged in your view and then you will see that in the utility area there is an option named “Image” to select the image. Click on that arrow and you will see all the images available. Make sure you have selected this newly added image view.
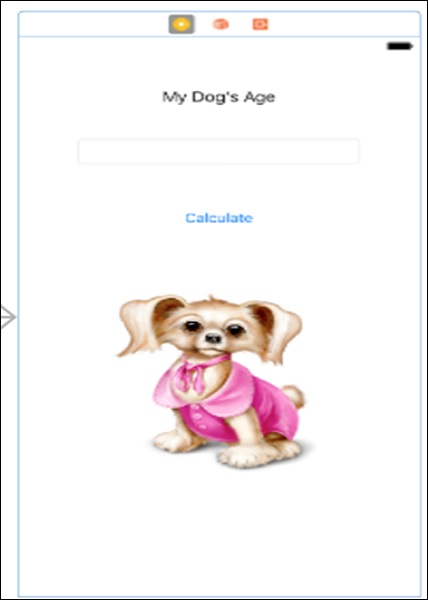
Now that you have selected the image for your image view, your final view should look like the following screenshot. This is the only thing that we will do with our main.storyboard, for this application.
This is our view now after adding all the UI elements.
After this, we have a logical implementation of our code that we will continue if you have completed until this step.
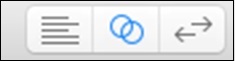
Now, select your view controller and open assistant editor by clicking the assistant editor button in the top right corner (as shown in the screenshot below).
Now, our view should look like the following screenshot.
Adding Functionality to Our Application
Until now, our application is just a Static Application, which does not respond to anything and does not change on the user interaction.
Now comes the main part of connecting our UI Elements to our Code and the UI will change according to users Input. The “ViewController.swift” file is our main file in which we will be writing code for our Current view.
Note − Currently we are working with single views, later when we discuss about multiple views. We will discuss how different files control different Views.
Click on the text field, press control and drag your cursor to Second part of screen, i.e. viewcontroller.swift file. You will see a blue line connecting our view and swift file. When you release the mouse, you will see a popup, asking for input.
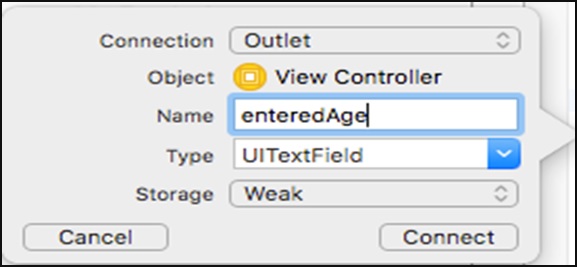
TIP − Fill the Name field with any Name that resembles to your Input field. One important point is that the name cannot have a space, so you can write it like shown in the earlier image, i.e. if the name has multiple words, then the first word should be written in small case, then the first alphabet of every next word will be capital.
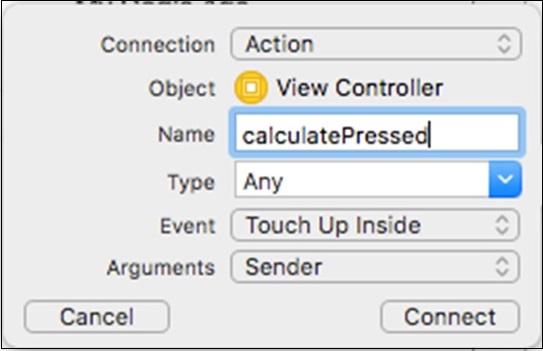
Follow the same procedure and connect the rest of the Elements. Remember that for a text field and a label, the type is Outlet. However, while adding a button, the type must be action as shown in the screenshot below.
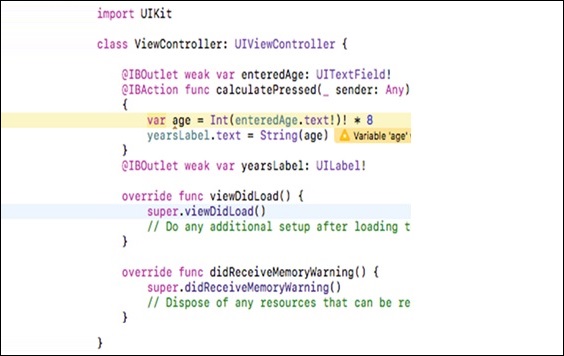
At this stage, our viewcontroller.swift will look like −
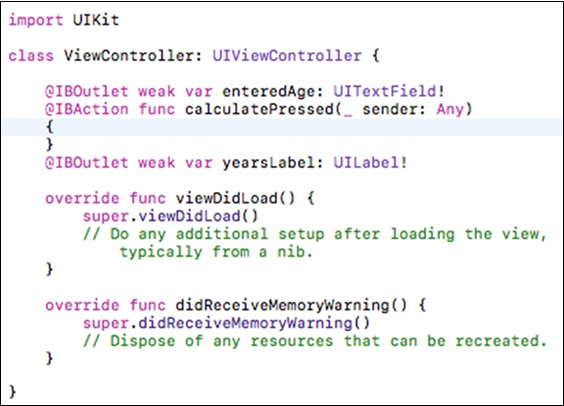
Now, inside your button action, add the following lines −
var age = Int(enteredAge.text!)! * 8
yearsLabel.text = String(age);
Tip − We do not need to add a semicolon to end a line in swift, but even if we put a semicolon, the compiler would not report any error.
In the above code, the first line declares a variable ‘age’, which we will discuss in the next chapter. Then we assign the value entered by the user, by converting it into an Integer, and multiplying it by 8.
In the second line, we assign the value of ‘age’ to our output label. At this stage, our view controller will look as follows −
Now, we will run our application and this is how it will appear.
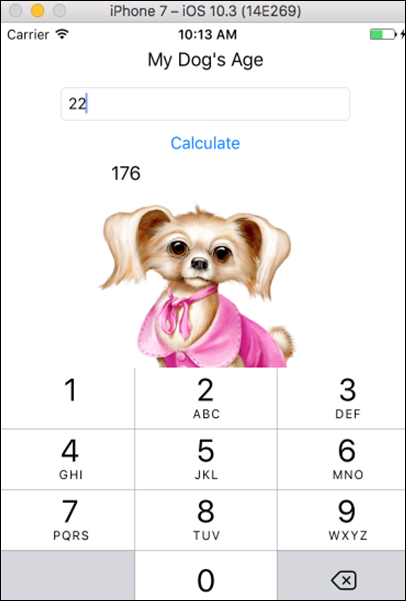
Tip − If your keyboard does not appear on the first run, open your simulator, click on hardware, go to keyboard and click on Toggle Software Keyboard.
In the next chapter, we will discuss about a new tool called Playground. We will also learn some more swift concepts like Variables, Dictionaries, Arrays Loops, Classes and objects.